Physical album
So, what happens to photos? Typically? They are taken using a dedicated camera or in most cases with a smartphone and… stay there. Maybe, from time to time, an algorithm proposes some pictures from the past as a highlight - and are forgotten again.
Even if you catalogue your pictures, they stay on your device and if you are lucky, you have backups and/or sync them to the cloud - but still, they do not see the light again.
And if you are gone? Will someone find these pictures? Chance is not that high - especially if you leave no note on where they are. Possibly on iCloud or Google Photos and bound to you smartphone, but what if you use some other cloud service or device non one knew about?
Since I take photos quite a lot, I decided to start a new project. Not the most creative idea, but important to me: to create a physical photo album, just like our “ancestors“ did. As a programmer, I wanted to have a more haptic experience even during the creation process, so I opted against making it using an online tool or local software - in the past, I never got along well with these tools. So, without a computer, I am doing too much with these devices already.
Luckily, I recently bought my very first (2D) printer… at the age of 46! I call a 3D printer my own for some years now, but never had a paper printer. The model that won the race is an Epson Eco Tank - model ET-8550 (shame on Epson - in Germany or Europe it seems that only the black version is available while there is a much more friendly bright finish is available in other regions…). It is capable of printing up to A3 format and has several ink tanks promising for economical and ecological print results in great quality.
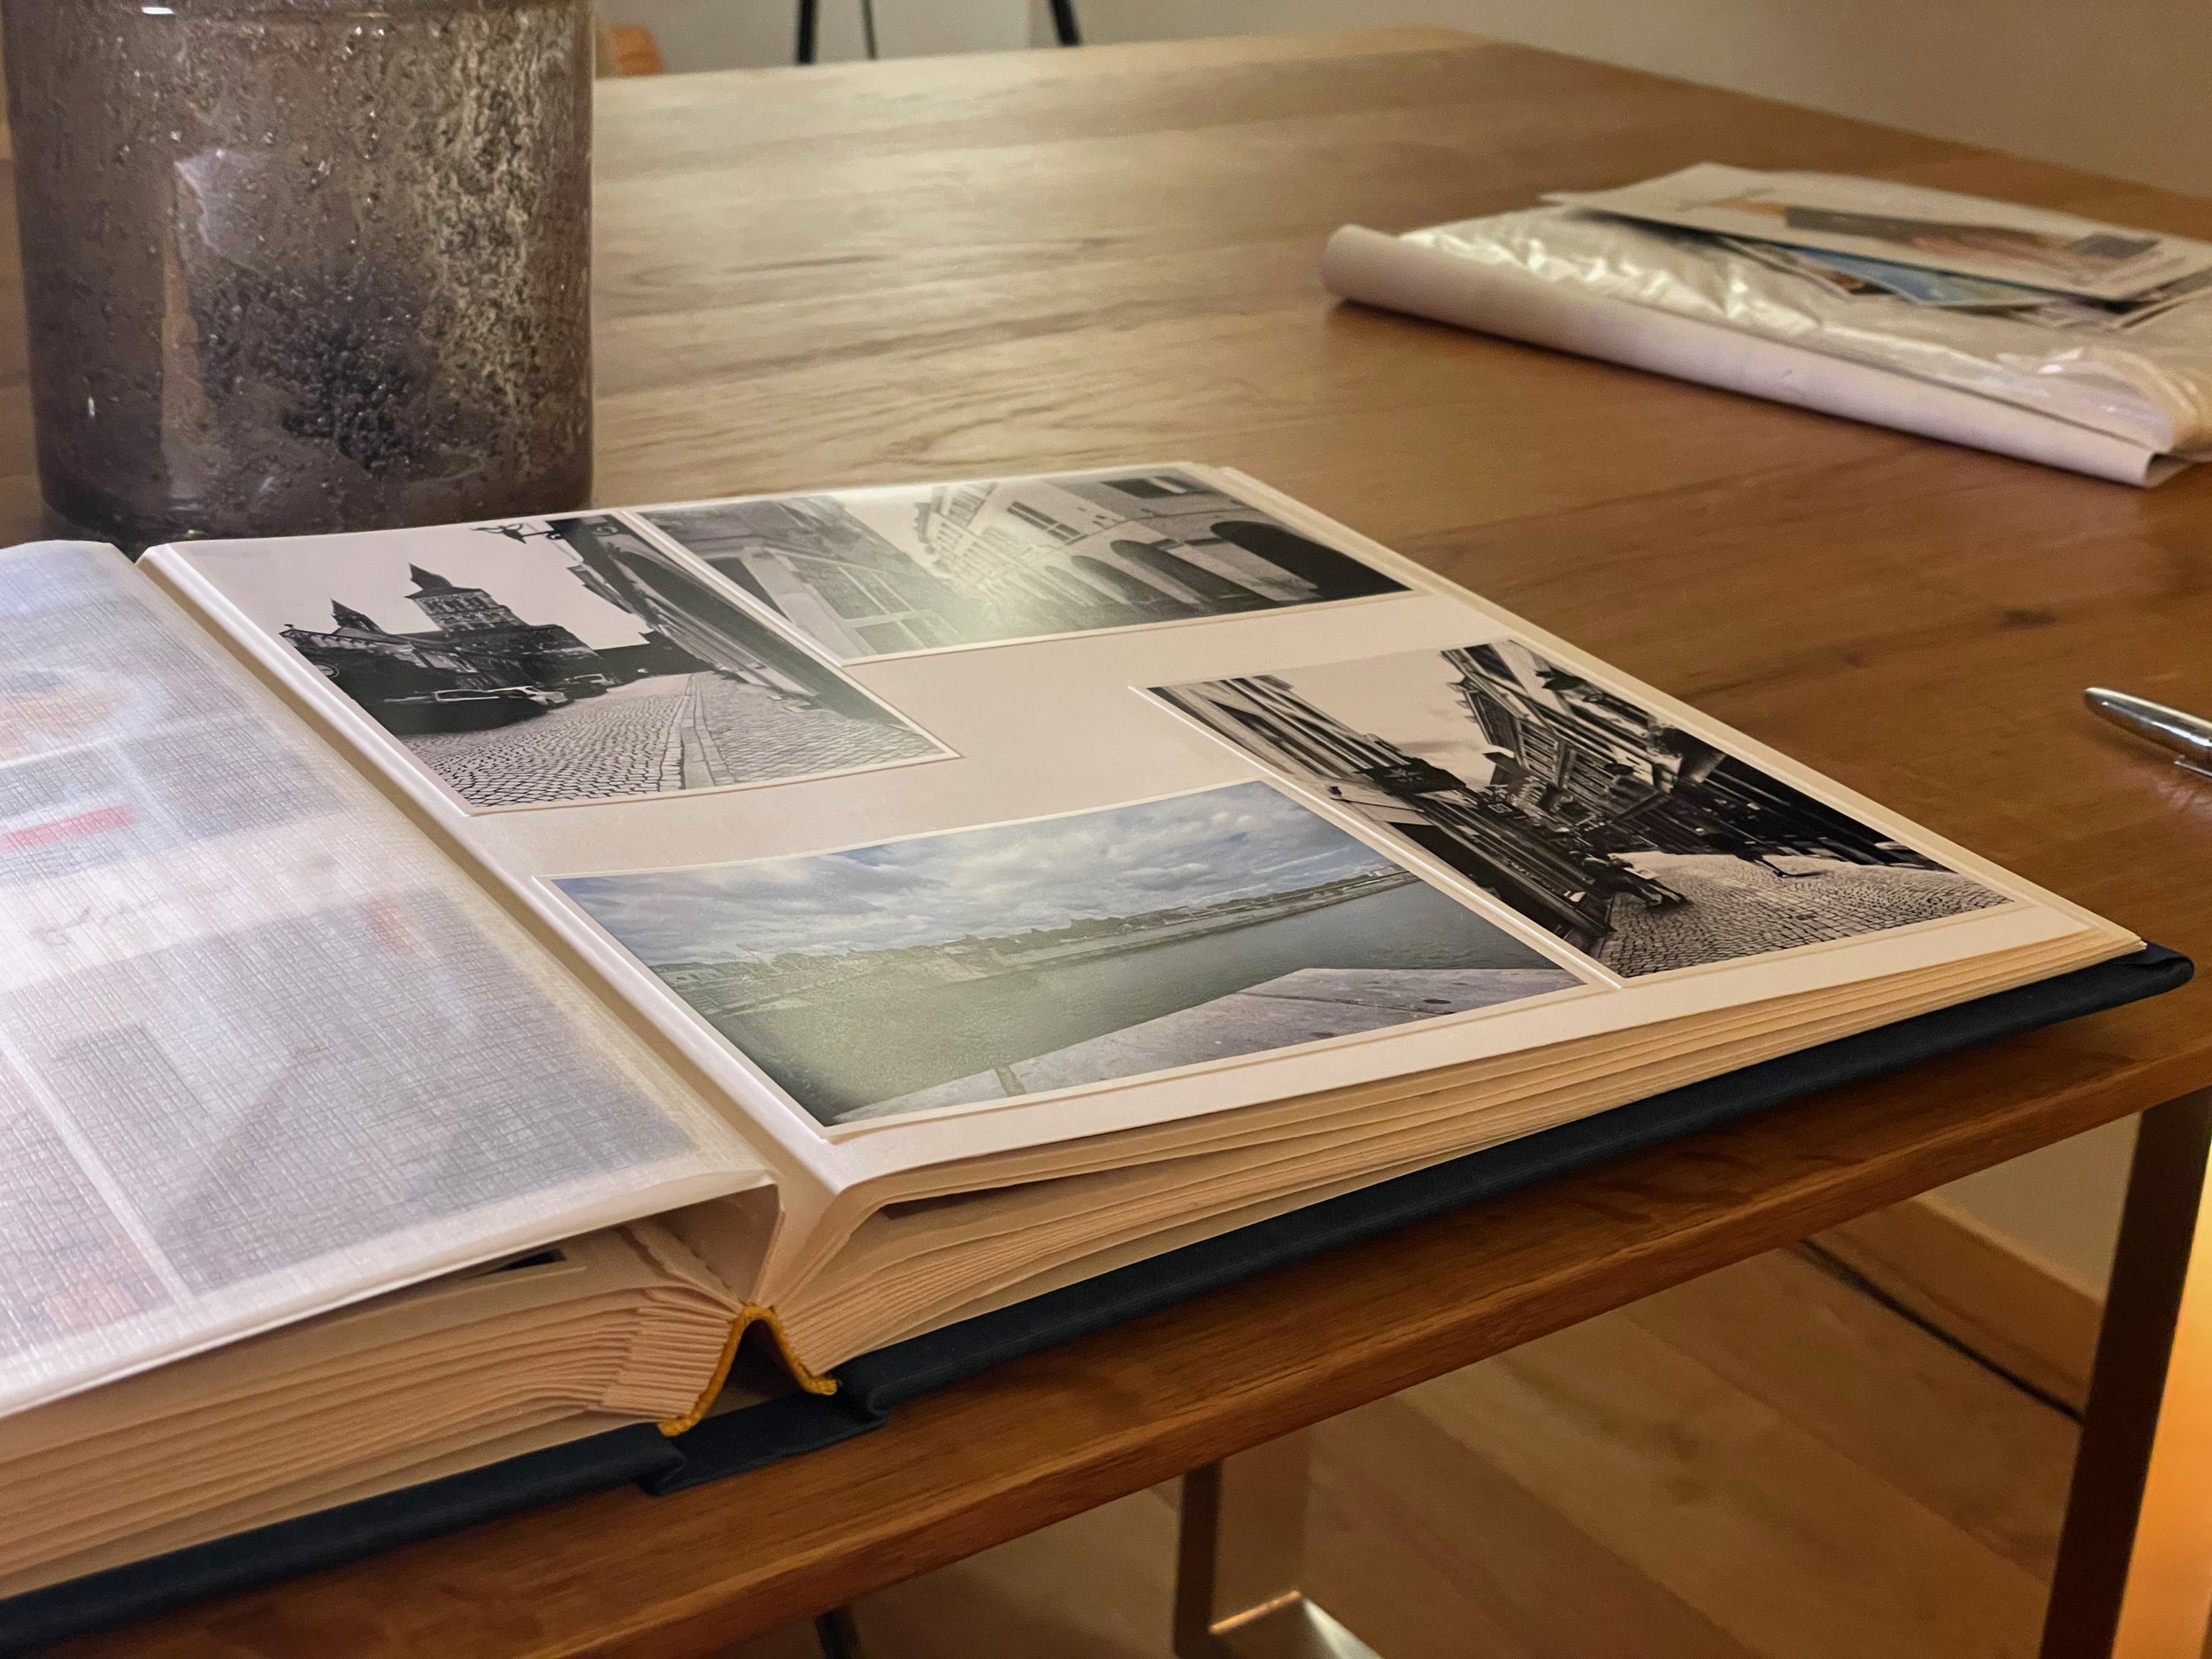
I decided to make a yearbook album of the past year - 2023 - to start with. If I like it, it would be great to do the same for years before and years to come. So, I looked for albums that are already in production for years and are likely to be produced in the future as well. Since I wanted a classic album, I liked the idea of having string paper and per gamin papers between the pages to protect the photos against each other not sticking face-to-face in all temperatures.
At the end, I decided to start off with Goldbuch Summertime series, since it has these features as well as linen cover and is available in several colours - for example you can line them up making a rainbow.
So, it was clear now that I will print the photos on my own and glue them into an old-school album. But first, I have to nominate pictures of that year to find their way into the book.
Regardless of all my methods I take photos (smartphone, DSLR, mirrorless cameras, analogue film cameras of different format) - all my photos end up in Apple Photos. The nice thing in Apple Photos is that all your pictures live in a timeline - regardless of other organisations you have (such as albums etc.).
What I did was just this: I started over to the beginning of the year 2023 in the timeline and tagged all the photos I wanted. As a tag, I used the month prefixed by year, e.g. “2023 January“. I continued to do so with the entire year, so I ended up with having all my candidates for that photo album.
Then, I created so called “smart albums“ - these are virtual Apple Photo albums that contain pictures anywhere in your library matching specified criteria, for example matching a tag (you can combine several matchers such as file type, date taken, containing text, aperture setting etc.). For each month, I created such an album and set a filter to match to that tag keyword:

Example: the album 2023 as a folder with each month as a smart album. Below, you can see the filter/matcher definition to gather all “December“ photos into that smart album since they have been tagged by me with that keyword.

How did I choose these photos? Well, my main thoughts on this project were these:
start the project
have a physical album
document my year 2023
finish the project
In order to finish my project, on key aspect was important - no dependencies. The goal was not to make a family album primarily but to document my past year as a retrospective. So, I just used the photos I already had. I could have asked my wife for photos, family and friends etc., but then you will most probably never end up finishing it. Also - try to get photos from others NOT using WhatsApp… the default photo quality is too bad and you see that in print at these sizes (well, I heard WhatsApp has an HQ option, but I that was after I have finished my album…).
So, from the pool of photos I already have, the criterium of choice was not primarily nice pictures or so but documentary ones. What happened in my life? So an important “filter” already was applied - I took pictures because it meant something to me.
Thus, many pictures in my album were not chosen because of aesthetic aspetcs but because of what happened. Well, within that choice of pictures of course I selected the nicer ones…
Here and there, I selected my photos in the evening thoughout one or two weeks from time to time. When finished, the work on the album itself began.
Having bottled glue (I dislike glue sticks since they do not really stand the test of time), my computer, printer and the album ready, I spent almost the entire weekend and the the following week each evening at least for 2-3 hours for printing and glueing the photos.
The nice thing was, that using Epson Photo+ Software, I could quickly layout multiple photos onto a single photo sheet. When I recognised that I had not enough pages left, I still could use all the photos but print multiple smaller ones onto a single sheet.
When my album was finished, it was really a great feeling. You had your memories printed on paper, your nice photos to haptically flip through. You focused on reviewing the year passed and what happened. Especially, this was a retrospective of my daughter's year, how she grew and what she accomplished.
And then - it solved another problem for me… I am now convinced to make albums for many other years. Since I also do analog film photos, the negatives just went into a box or so. Now, having a place, I am also using the physical album also to put my film negatives and additionally, I put all my year’s photos (RAW and JPEG/HEIF) to an SD card and into an envelope and glued it also into the album. It is now a place for my most important photos in form of paper, film negatives and digital copy onto a physical storage medium.
